Let's Learn About Retrographer
User Interface
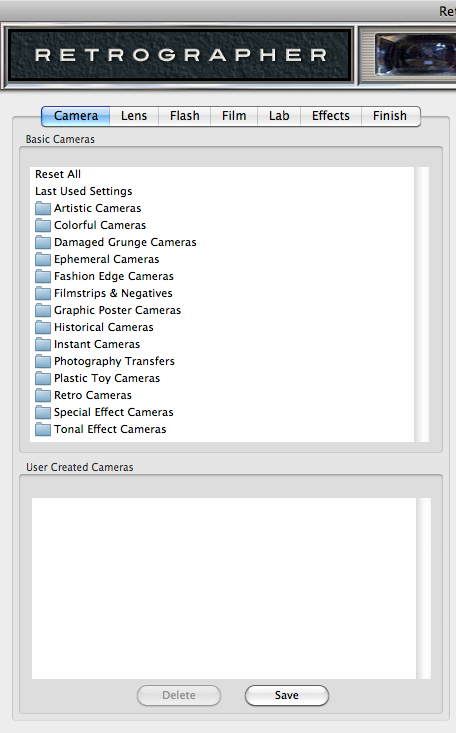
Retrographer features seven different tabbed sections of the GUI interface to create and fine-tune the plug-in effects. Below we'll discuss an overview of the filter and details about each tabbed section.
After successful plug-in installation, to start, load any image in 8-Bit RGB or CMYK mode into Adobe Photoshop or compatibles and launch the Retrographer plug-in from the following menubar location: Filter > Mister Retro > Retrographer*.
* The location to access the Retrographer plug-in may vary from application to application, consult your imaging application user manual for specific instructions how to access plug-in filters.
|
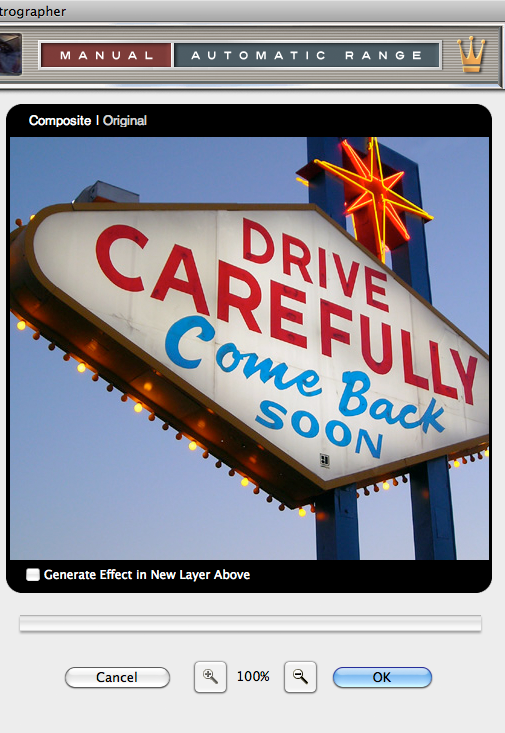
Once the plug-in has been successfully registered and launched, you'll see seven tabbed sections on the upper left side of the GUI and a Preview window on the right. The Preview window features zoom controls beneath and OK and Cancel buttons to apply or cancel the effect with the current settings.
Once you've adjusted the controls in each tabbed section and are satisfied with the results, click the OK button to apply the Retrographer effect to your image.
Manual Button - You'll also notice across the top of the GUI are two buttons, Manual and Automatic Range. If you would like to launch this manual at any time, simply click the Manual button. If at any time you need help with working with a specific tabbed section of Retrographer, simply hit the F1 button on your keyboard to launch the manual to the specific section.
Automatic Range Button - Clicking the Automatic Range button will launch your web browser and take you to our online preset preview gallery showing the entire range of preset effects without the need to manually toggle through each in the plug-in. In addition, as new Retrographer presets are released, you'll be able to access them via Automatic Range.
Plug-in Notifications - Never worry about making sure you have the latest version of Retrographer or the newest preset effects. As we continue to enhance and improve Retrographer or add new preset effects, the plug-in will automatically notify you when new versions are available and direct you where you can download them.

About Dialog - Simply click on the Retrographer title in the upper left to launch the About dialog where you'll see links to Updates or to view online Retrographer Tutorials.
Viewfinder Random Effect Generator - We know there are lots of effect options to apply to your image but if you just can't decide which ones to use, click on the viewfinder located at the top of the plug-in to randomly load effects, you'll be amazed how fun and useful it is!
With so many controls to master, we're confident you'll be thrilled with the variety of visual effects you can create with Retrographer.